
How Your Gifts Are Made: Part II
By Joshua Epling, 4 min reading time
By Joshua Epling, 4 min reading time
Have you always wondered how your custom wooden pens are made? No need to wonder any longer! We show you the step by step process which we use to craft your sustainable wooden gifts, and include pictures of us going through the process!
We get a lot of questions on how our pens are made and after sharing the process of our other products, we thought it would be a great time to expand on that. Our pens have a lot of very unique steps, so if you have any questions, feel free to leave a comment or send us an email.
Unlike the products we wrote about in the last blog, our pens are made from solid wood blocks instead of the veneer core. Each wood block is cut with a table saw into two smaller pieces known as blanks.
![]()
A blank is what we use on the lathe after it has been fully prepped. Each one is 1x1x5, and is measured using the pen barrel that will eventually fill it. This way each blank will be the perfect size for the pen barrel. All of these steps are necessary for the pens to turn out just right later down the line.
After the blanks are cut down, they have to be drilled in order to insert the pen barrel. The blank is first secured in the drill press, and then using the perfect sized drill bit, we drill a hole in the center.
![]()
With the holes drilled, and the blanks fully prepped, we can begin to glue the barrels into place. This keeps them secure inside the wooden pens. Each blank then has the glue sanded off of the ends to finalize its preparation for the lathe.
![]()
After the blank is fully prepared, we attach it to the lathe alongside bushings that help us measure the size of the pen's diameter. While the lathe spins we use a gouge (a chisel like instrument to help shape the pen) to carve the blank into one of our handcrafted pens.

The blank is now almost a pen, but we use the lathe to sand it down to an 800 grip for a smooth exterior. This helps to smooth out the wood, as if we only turned the pen then there would still be lines on the pen. The lathe only spins opposite the grain, so we sand it again by hand to perfect its smoothness.
After we finish turning the pen it is time to put the finishing touches on it. This includes adding a finish to make the pen stronger, as well as the final assembly. When finishing the pen, we start with a friction polish using a shellac base that dries quickly with the friction of the lathe. This gives the pen a beautiful shine.

However, this first finish isn't strong enough to really help the pen last, so we use a second. The second finish is a coating of renaissance wax which is then buffed out, leaving the pen with a strong, yet natural feel. We tried a ton of different finishing techniques and somehow this one clicked. You can read more about how we finish your wooden gifts here.
When the products are done being finished we press in the head, the cap and the ink, and test every pen to make sure it opens and can be refilled.

Finally, we package every pen in its own individual box and prepare it to ship out to you. These handcrafted wooden pens are sure to last, and we offer refills for the ink, so you don't have to worry about only getting one use out of it.

We really hope that you enjoyed learning about how we make your custom wooden gifts. If you have any questions for us, feel free to reach out on social media, or leave a comment below. Let us know what other kind of blogs you would like to see as well!
thanks for sharing this type of informative article! thank you very much! gift pens
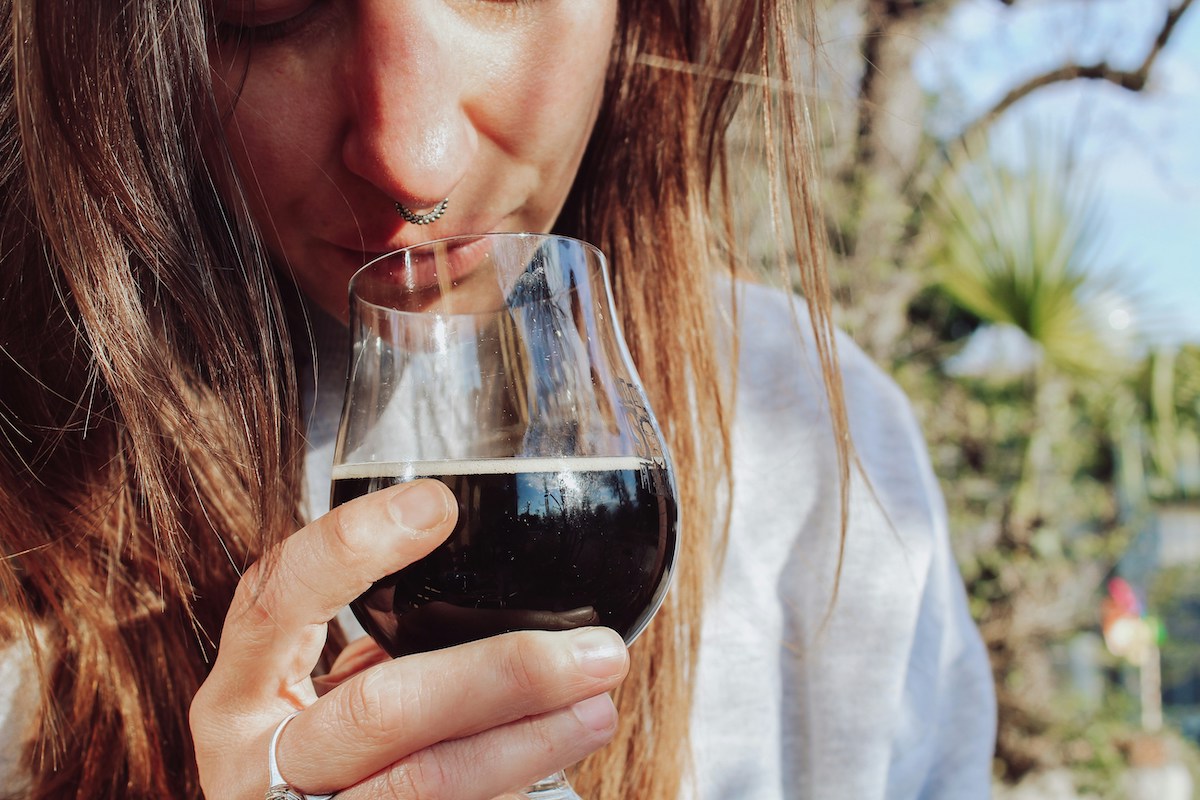
Fancier than a 6-pack, but cheaper than a fermentation tank—discover our 5 favorite gift ideas for the beer nerd in your life.

I’ve never done things in a way considered “normal,” and this is no exception. From day one, I had a feeling that I would sell Autumn. But until re...
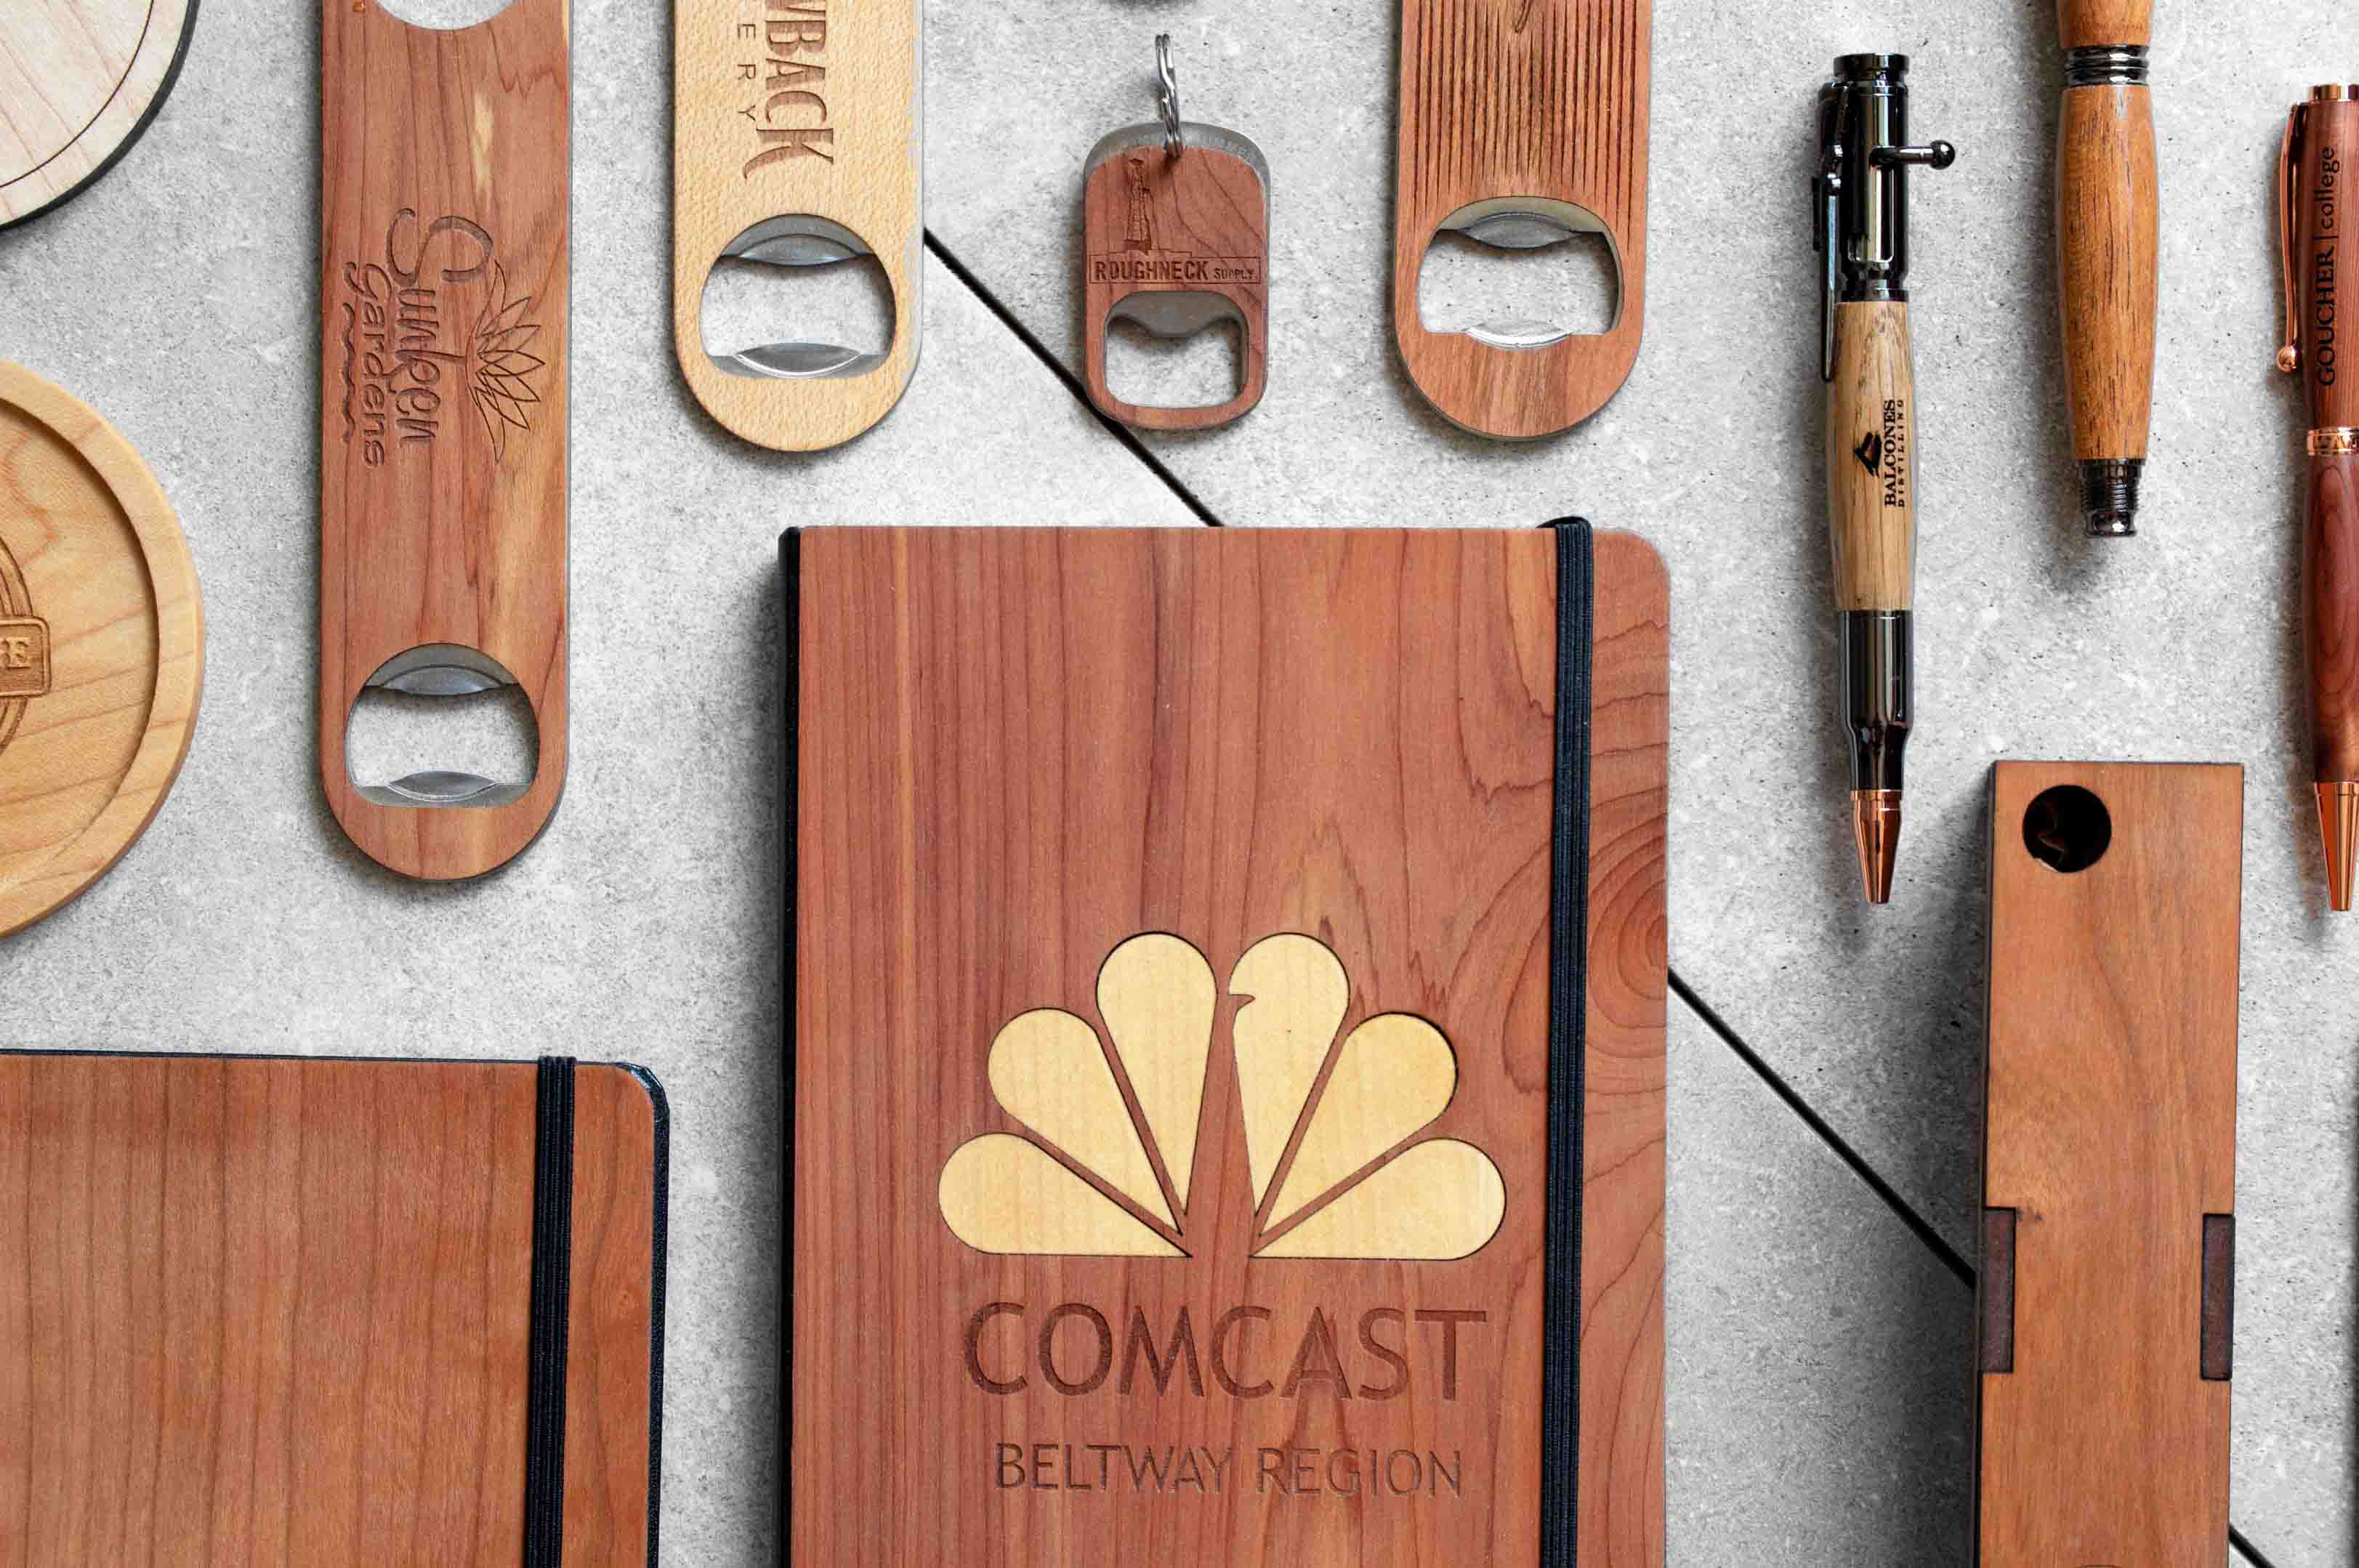
Corporate gifting allows businesses of every size to cultivate stronger bonds with employees, clients and prospective clients. Autumn Woods Co. is ...